- The Herb Guide Home
- Growing Herbs
- How to Grow Lavender
How to Grow Lavender
As an Amazon Associate I earn from qualifying purchases
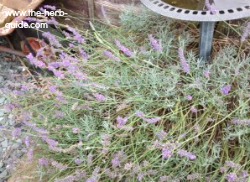
How to grow lavender with step by step photos. This is part 2 in a 2 part tutorial for part 1 please click here Growing Lavender I'll be waiting for you when you get back :-)
The photo above is of a Hidcote Lavender growing in my garden and this is what has been used as my stock plant.

You can try a sample lesson to help you decide if the Herbal Academy of New England is the right choice for you - follow the link below.
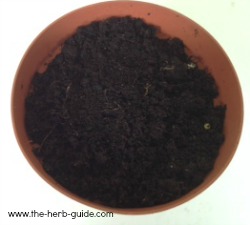
Once you have your cuttings, you need your compost.
A 4 inch pot is fine for a few cuttings.
Fill it to about 1 inch from the top with potting and rooting compost, then water it. Allow to stand for about 30 minutes to drain. Obviously, do this prior to taking your cuttings.
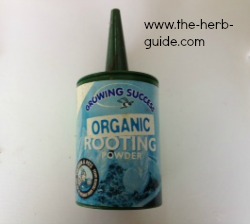
I always use a rooting powder to ensure a better success rate.
You don't have to as the cuttings will strike without for the most part, but I don't like to see dead bits of twig in my pot.
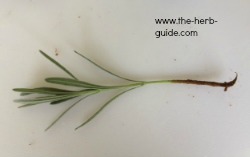
Dampen the base of the lavender cutting so that the powder will stick to it.
Tap gently to remove the excess. You can better see the heel in this photo that I mentioned in part 1 of the How to Grow Lavender tutorial.
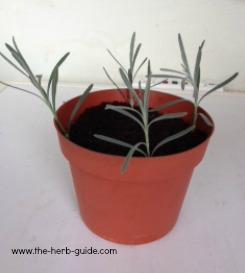
Dip all the cuttings in the rooting powder and then put then into your pot.
Place them round the side evenly spaced.
I have just put four in here, but there is space for another two.
You just push them down so that the leaves are above the soil level - they will rot if they go below and that would affect your strike rate.
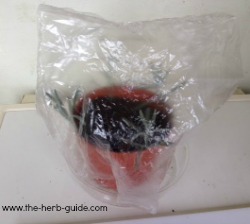
Finally place a polythene bag over the whole pot. This will help maintain humidity in the absence of a propagator.
Try not to let it touch the cuttings - when I place this in its permanent spot, I will pull the bag up a bit to make sure it’s not touching the cuttings. You could put pieces of wood around the outside to hold it away from the lavender cuttings if you like.
Leave it for a couple of weeks in a light spot. You should have signs of growth. You will see new green growth coming from the top of the cutting.
Be really patient - don't tug at the cuttings until you see real signs of growth - they won't like being messed with and you'll delay the rooting process at best, and at worst, you'll cause the cuttings to fail. You can then remove the plastic bag and keep the soil moist but not wet.
Let them stay in here for a couple of months, then you can pot on individually. They should have developed a root system by then and will need space to grow without becoming tangled with their neighbour.
In the spring you will have some fine healthy lavender plants to grow on in your garden.
Where would you like to go next?
Now you've learned how to grow lavender, perhaps you'd like to check out the Growing Herbs For Profit page - turning a pleasant hobby into a potential business.
I may receive a commission if you purchase something mentioned in this post. See more details here This will not affect the amount you pay.

