- The Herb Guide Home
- Preserving
- How to Dry Herbs
How to Dry Herbs
As an Amazon Associate I earn from qualifying purchases
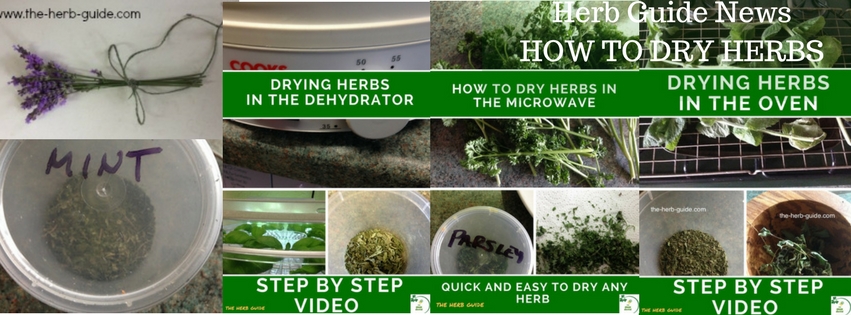
How to dry herbs - here's five main methods - all have their pros and cons.
The method you select can depend on the type of leaf, space and time available.
Two are free - two depend on the equipment you have already in your kitchen and the fifth relies on investing in a dehydrator.
Read on, all will become clear.
At the bottom, there's instructions for storing dried herbs and very brief harvesting guidelines.

You can try a sample lesson to help you decide if the Herbal Academy of New England is the right choice for you - follow the link below.
How to dry herbs - free
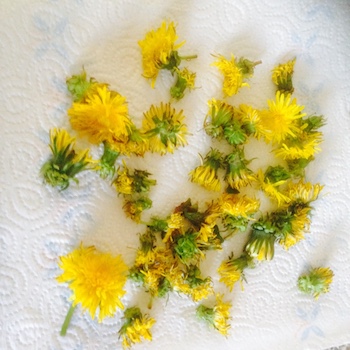
The first method is air drying by spreading out on a tray. That can be any sort of tray - put some kitchen towel or a clean tea towel on it first.
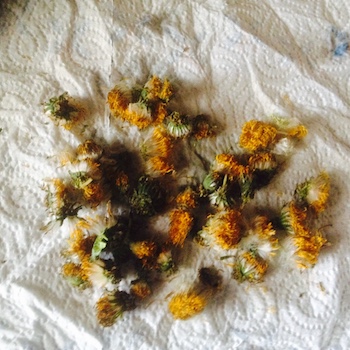
Flat air drying is most suitable for flower heads - things like chamomile and dandelions for instance and larger leaved herbs, basil, mint, sage or bay.
You pick the heads (or leaves) spread them out and leave them somewhere out of direct light. It takes one to four days, depending on the ambient temperature and size of the flowers/leaves.
If you're going to be making oils with your herbs, then it's often recommended to use them dried as it lessens the chances of water borne problems such as botulism or other spoilage.
Also, the drying process will encourage the insects that have taken up residence to leave the flower heads, and find somewhere else to live, before you add them to your cosmetics or remedies - who wants a bug floating around in their oil?
So - flowers, you'd generally use them whole or slightly crumbled. I have used the whole dried dandelions in this oil (I went on to make a skin salve with it - great for gardener's hands). Chamomile, you'd probably break them down a little.
You store bay leaves whole and use one to flavour sauces and soups - remove it before serving.
Sage, mint, basil etc - crumble the leaves. Either in your fingers, with a pestle and mortar or a food processor/blender.
Use airtight jars and label them, keep them in the dark, therefore the storage jars don't need to be opaque.
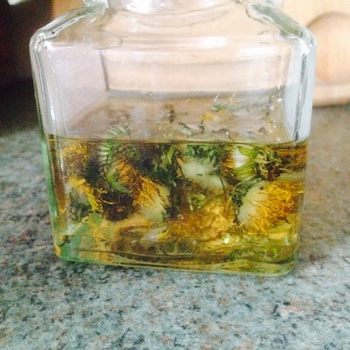
There's a bit of a debate about sunlight and drying herbs - some say you should protect them from light during the drying process, I say not necessary.
You see trays and trays of herbs and spices laid out under the hot sun in many countries - I would say, certainly dry outdoors if it's convenient for you, but protect from the fiercest sun - you don't want them to shrivel and burn, just dry out.
The most important things are warm and dry, daylight doesn't have to be excluded *in the drying process*. BUT when it comes to storage, then dark and dry is important to prevent the herb degrading - you'll be storing it for several months.
and somebody found it hard to fold down - there's a technique to get it back into its carrying case.
The pros are that it's big, easy to see, folds down to store, good quality, holds its shape - on and on.
It's something you'll use year in, year out. Flowers, buds, leaves, stems - they'll all dry alongside each other.
Available on Amazon - click below. These are affiliate links and if you buy through these links, I will earn a small commission.
Air Drying - Method #2
Tie stems of herbs in bunches. Around five to ten is enough stems.
Then hang them somewhere dry. There's not many places in modern homes, but if you've got a cupboard under the stairs (that's where I do mine) then screw some hooks in and hang your herbs there.
The additional benefit of course, is lovely smelling cupboards!
It will take two to seven days for most herbs.
The ones best suited for this are things with smaller leaves or flowers - thyme, oregano, rosemary, lavender for instance.
Once they've dried, you can then strip the leaves off, crumble them if necessary and store in an airtight jar somewhere dark.
You can see from the photos below, that the lavender is totally recognisable, it's just a darker colour but the scent remains. With lavender, you can either make displays or wreaths out of the stems or you can strip the flowers and make little pot-pourri bags for your clothes drawers and wardrobes.
Click here for the full Drying Lavender step by step tutorial with photos.
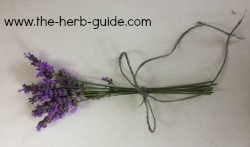
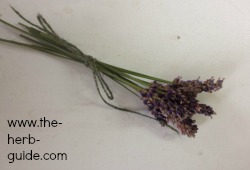
It would be great if you have a porch, you could hang it there (bring it indoors at night, so the herbs don't get damp again).
You could dry bunches of flowers on this as well, ready for decorating the house, making wreathes and similar for the Holidays.
How to Dry Herbs - could be free
If you have an oven, then you can do this one for 'almost' free by planning ahead and using the residual heat from a cooking session. If you want to do it from scratch, then heat the oven to 300F, 150C or Gas Mark 2, then turn it off.
Most herbs are suitable for this - I'm trying to think of something 'not suitable' but I can't really. If I do, I'll update.
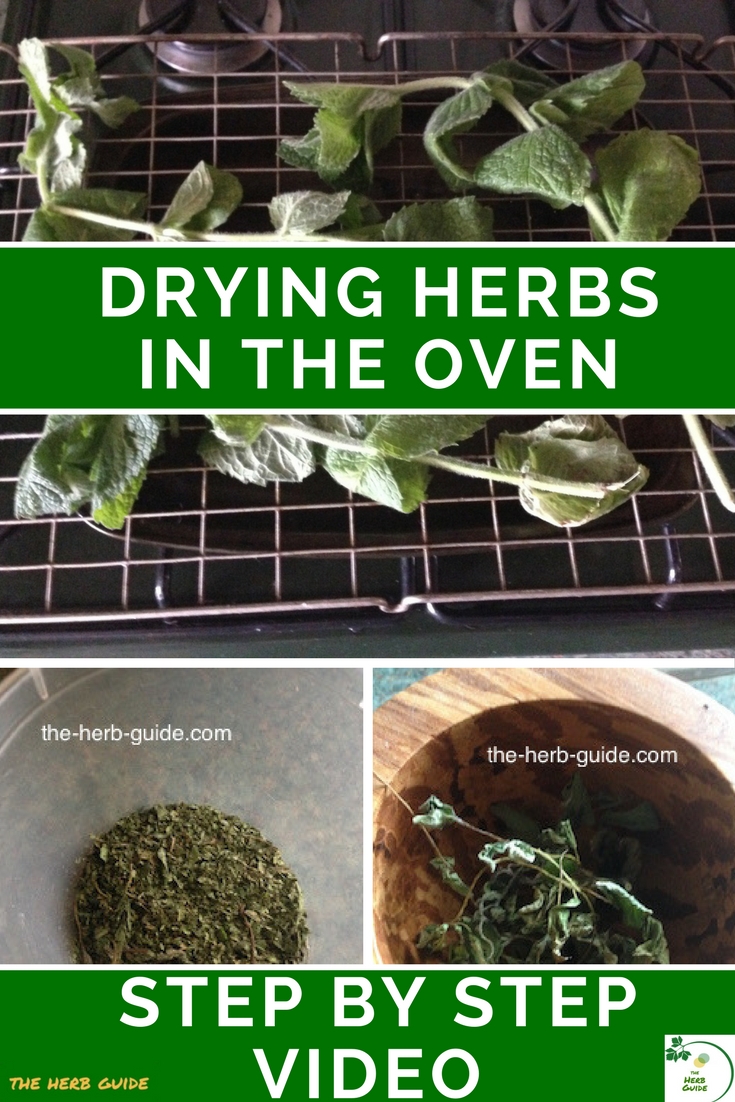
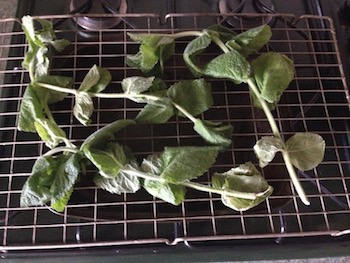
Lay the stems out on a rack (I use my cake cooling rack) lay them over another tray and pop them in the oven as it's cooling down. Wedge the door open slightly and leave for an hour, check them but it will probably take a couple of hours or so.
They'll be dry and brittle. Any that are not 'green' have burned, so discard them.
I've made a video below which you can watch or there's a link here to Oven Drying Herbs where there's a step by step photo tutorial. This was inspired when the mint in my Aerogarden began to outgrow its spot before other plants had a chance to catch up.
Videos are added often to Herb Guide TV YouTube Channel - click over to check out the channel or the Herb Guide TV section here on this site. If you have any requests, then drop me an email at Liz at the-herb-guide dot com
How to dry herbs - for pennies
If you already own a microwave, then it's very quick and easy to dry herbs in small batches.
It's particularly useful if you're not going to be cooking in the oven and have some left over herbs that have already been picked.
- if you bought a bunch at the supermarket and have only used half
- you've bought a plant from the store and it's not doing very well - they don't seem to last long. They've been grown under lights and in perfect conditions and don't have time to acclimatise to the kitchen before they begin to keel over.
- you've got a few herbs growing on your sill and want to preserve just a small amount
I've made a video on how to dry parsley in the microwave. You simply layer the leaves between two pieces of kitchen towel.
This method is suitable for most herbs. Do pick the leaves off though as there is a tendency for the paper to catch fire if it's going too long.
30 second blast, cool, check for brittleness and then another 30 seconds. This parsley took four 30 second blasts but it had been extremely fresh when I did it, as I'd picked it especially to do the tutorial.
How to Dry Herbs - having made an investment
I have bought a Dehydrator - it was on offer and I'd wanted one for years.
Do I use it? It varies to be honest - in the herb growing season, I do use it - it's out of the cupboard.
It's not just for drying herbs. I've dried fruit and berries in it too. Banana, apples, pineapple, kiwi, apricots, strawberries, raspberries, cranberries, mango, tomatoes - some people dry meat, jerky (I've not tried) It's great if I have some fruit that's ripening too quickly or there's a special buy. Store the dried fruit for out of season use when fresh fruit can be a bit pricey.
I've also made fruit rolls - really great for the kids as they get fruit with no additives. You just make a fruit puree out of ripe fruit and spread it on a sheet in the dehydrator. Cut it when it's dried and roll it up. You can sweeten the puree with honey if it's a bit sharp in taste (depends on which fruit you use and the ripeness of it).
It's a good way of drying several herbs at a time - mine has five trays and I can stack them up and keep rotating them.
I've used it for my medicinal herbs - hawthorn berries, gingko leaves, rose hips and many others which I've dried before tincturing.
I've made this video on Dehydrating Basil - it works very well - you could fill it up with other herbs, but I just did the basil for the tutorial.
- How much space do you have for storage or on your counter top?
- How much can you afford?
- What will you use it for?
- Check that there is an adjustable thermostat - no good not being able to adjust the temperature.
- Look at the reviews - see what niggles people had, what they liked.
If you get into dehydrating, it's doubtful you'll ever waste anything in the kitchen again!
Store Dried Herbs
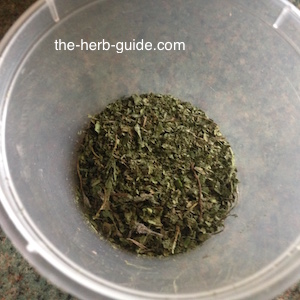
I use small polythene pots to store the dried herbs in. It doesn't matter too much what you use so long as it's airtight - if you keep it in a dark cupboard, then light won't affect the herb.
Write on the tub so that you know what it is at a glance - dried herbs do look very much alike.
If you use glass jars, then do sterilise them first. Boil the jar and lid in water for 10 minutes. Take them out and let them drain naturally. They must be absolutely bone dry before you put the herbs in.
There is a debate about using plastic, but I don't have single use - these are reused over and over again and the lids are wipeable so I can relabel.


Harvest Herbs - best practice
There are sometimes individual requirements and they'll be noted on the pages for each herb - here for Alphabetical List of Common Culinary Herbs but overall:
- Pick on a dry day
- Wait until the sun has dried the moisture off the leaves
- Pick before the sun gets too warm
- Don't wash the herbs - you've waited for the sun to dry them, don't wet them again
- If they're dirty, wash the plant gently with water and leave for another day to dry
- Unless you're wanting the flowers for drying purposes, harvest before they flower
- Leave some stems for flowering for the bees and pollinators
- Leave some stems so the plant can use the energy for reproducing for next year
Drying herbs in the oven is a great way of drying small quantities.
This video shows you how easy it is to get a result in an hour or two instead of leaving bunches of herbs hanging around for weeks.
Check out the Herb Guide TV YouTube Channel where a new video is uploaded every week.
Get in touch if you'd like us to cover something special.
I may receive a commission if you purchase something mentioned in this post. See more details here This will not affect the amount you pay.


