- The Herb Guide Home
- Recipes
- Cheesy Garlic Bread Recipe
Cheesy Garlic Bread Recipe
As an Amazon Associate I earn from qualifying purchases
This cheesy garlic bread recipes is one I use regularly. It's great to go with a pasta meal and you can use different cheese depending on what you're going to eat it with or what you have in your fridge.
I like to use parmesan for a pasta meal - I also love parmesan over my pasta and am of the school that believes there is no such thing as too much cheese :-)
I can't stress too highly, to slice your loaf BEFORE you put it on your aluminium, greaseproof or whatever you're using to wrap your bread for the oven. You will lose all your butter into the oven, the bread will be dry and you will be *very* disappointed. Ask me how I know...
Use a cutting board and only slice to the bottom crust of the loaf - any further, and your butter will just drip into the foil. You'll have a very tasty bottom but a dry middle!
This cheesy garlic bread recipe is so simple - step by step with photos makes it easier than you can imagine!

You can try a sample lesson to help you decide if the Herbal Academy of New England is the right choice for you - follow the link below.
You will need :-
- 1 oz (25g) parmesan cheese
- 4 oz (25g) garlic butter (recipe here)
- 1 baguette
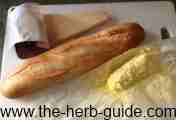
Before you start this cheesy garlic bread recipe, heat your oven to Gas Mark 6, 400F, 200C.
Take a small bowl and put your ready prepared butter in it.
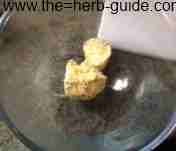
Using the fine holes on your cheese grater, grate your parmesan cheese.
To make really cheesy garlic bread, I use this as it is strong but you could use another cheese if you prefer.
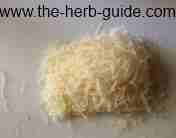
Tip this into the mixing bowl.
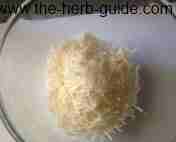
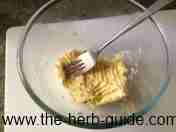
Using an ordinary table fork, mix the butter and cheese together.
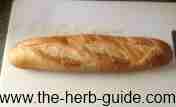
Using a bread knife/saw, cut your baguette in diagonal slices.
Be careful not to cut right through as the butter will seep out and leave your garlic bread dry.
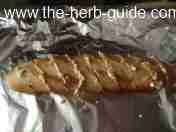
Move the sliced loaf onto a piece of tinfoil.Don't cut the bread on the tinfoil as you might make holes in it.Push the cheese and butter mix into the slits - be generous!
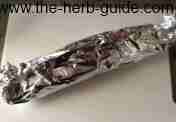
Using the tinfoil, make a parcel.
Put into a hot oven (400F, 200C Gas Mark 6) for 10 minutes.
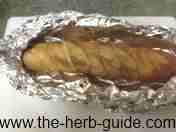
If you want your garlic bread crispy, then after 10 minutes, remove it and peel the tinfoil back to expose the crust.
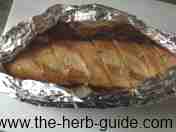
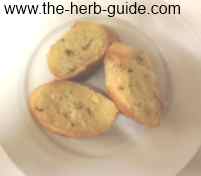
Put back in the oven for another 5 minutes.Can you see the cheesy garlic just oozing out of this?
It's so tasty!
I may receive a commission if you purchase something mentioned in this post. See more details here This will not affect the amount you pay.

